How-To Connect to Snowflake via JDBC
What Does This Article Cover?
This document outlines how to connect to Snowflake via the JDBC connection protocol.
Intelligence Version 3.3 Update
A dedicated Snowflake SQL Connection was provided in Intelligence Hub version 3.3 released in first quarter 2024. The Connection is described in the Intelligence Hub User Guide here. Using the Snowflake SQL Connection is recommended however using the Intelligence Hub JDBC Connection as described below remains valid and supported.
Connection
-
From Snowflake you will need the following:
b. Database name
c. Account with proper access to the database
-
Ensure the Intelligence Hub runtime is stopped -> download the Snowflake JDBC jar file and place jar file in runtime\lib folder -> Start the runtime
-
Navigate to Connections -> click new connection -> Enter the component name and description if desired -> click next
-
Select JDBC driver as the protocol -> enter anything for the host (0.0.0.0) and port (443), these settings will not be leveraged for the JDBC connection
-
Under the settings screen, enter the following (Snowflake JDBC KB):
a. JDBC connection string (Note the user=username is required in the connection params):
jdbc:snowflake://<account_identifier>.snowflakecomputing.com/?<connection_params>b. Class path:
net.snowflake.client.jdbc.SnowflakeDriver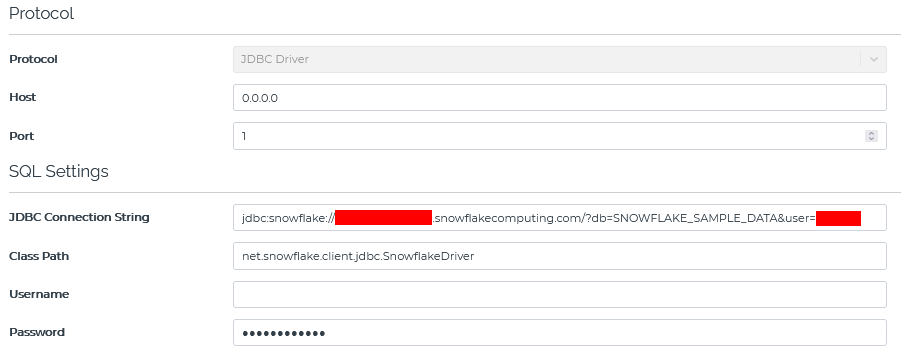
-
Enter your account password within the “password” field
-
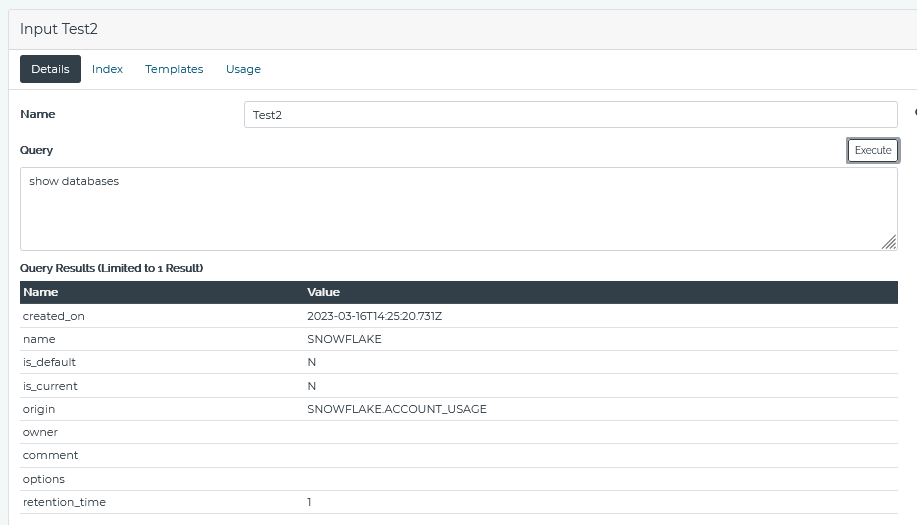
You can now create inputs and or outputs depending on the use case -> Example input query:
show databases