Export
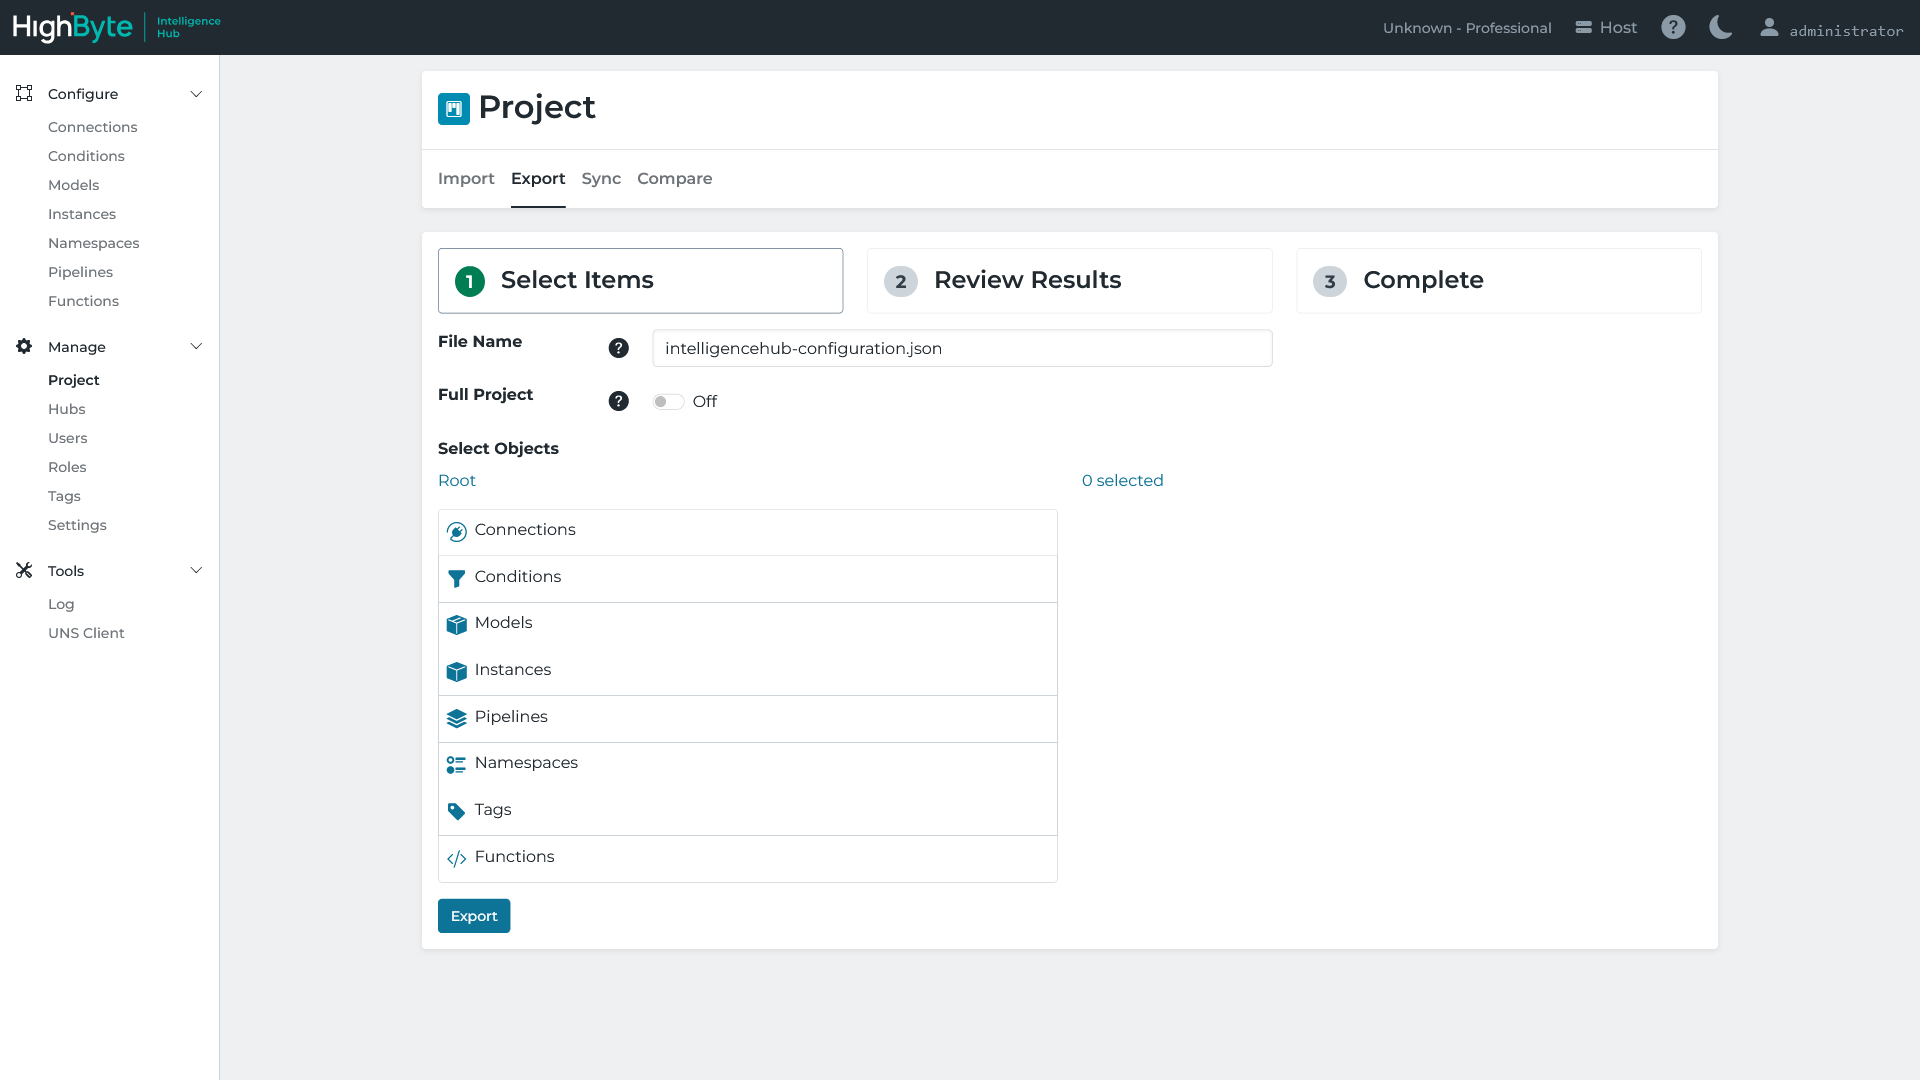
Project export can be used to quickly export a individual configuration objects or entire projects from the current hub. To export objects, perform the following steps.
Navigate to Project in the configuration’s Main Menu and navigate to the Export tab.
The Export Type specifies the destination of the exported project.
- If File is selected, the project is exported to a JSON representation that can be reviewed and downloaded.
- If Git is selected, the project is exported as a deployment file that is pushed to a Git repository. Click Autofill to populate the fields below from the Git Backup application setting, if configured, or fill them in manually. See Git Backup for more details on these fields.
Field Description Repository URI The URI of the Git repository. Author Author to use in the commit message. Email Email to use in the commit message. Authentication Type The authentication type used to access the repository. Username Git username to use for password authentication. Password Git password (or personal access token) to use for password authentication. Branch The branch in the repository to export to. Deploy File The relative path in the repository to save the exported deployment file.
To export the entire project, select Full Project. If Full Project is disabled, use the browse to select individual objects or tagged objects. When selecting a Tag, all objects with tagged with that Tag are selected. You can then de-select any objects that you don’t wish to export.
Click Export.
If Export Type is File, the Review Results tab presents a JSON representation of the exported project. To download a JSON file containing the project, click Download.
If Export Type is Git, the exported deployment file is pushed as a commit to the specified branch of the Git repository.